
Introduction:
What? : Half Dome
Diving Board, One of Ansel Adams Yosemite Pictures, Monolith, the Face of Half
Dome, was taken from this exact location.
From this
location, right in front of the face of Half Dome and 3000 ft above the valley below you
can witness the mighty of this granite mountain, enjoy the grand vista of the
valley and surrounding mountains.
The view from the Diving Board is remarkable and unique.
Aside from Half Dome’s massive northwest
face you can see from here many of the park famous attraction points: North
Dome, Mount Watkins, Tenaya Canyon and waterfall, Mount Hoffmann, Glacier
Point, the Royal Arches, Yosemite Falls, Eagle Peak and El Capitan.


- Yosemite National Park – How to plan your One-Day visit
- Yosemite National Park - Bear Pictures
- Yosemite NP – Hiking Mist trail to Vernal Falls and Nevada Fall
- Yosemite NP – Half Dome Hike
Warning - This strenuous hike is not for everyone.
It does not have official marked trail, it involves with
navigations skills, and it includes steep mountain climb and crossing difficult terrain.
From Curry
Village in Yosemite Valley this hike was almost 15 miles with 4500 ft of
elevation gain, a full long day of hiking and having fun in the nature.

Where? : The view point
is located in front of the base of Half Dome, west of Little Yosemite Valley.
The trail start is from John Muir Trail, 0.7 miles east of the junction with
Mist Trail at the top of Nevada falls.
Google Map Link

When? : This hike is
recommended at late spring early summer months when the snow at this elevation
already melted. At summer and when it hot it will be difficult to climb the
last section of this hike.
Due note 1: I’m writing this section not to discourage you from doing this hike. This is not a simple hike and if you fall during the hike over the boulders or the steep sections you could get seriously hurt yourself.

Due note 2: This is strenuous hike.
Although not long, the last section of this trail right after Lost Lake
to the viewpoint is only 0.7 mile long but has ~1400 ft elevation gain. You will need
to find your way up in unmarked trail, steep, steady climb overhanging cliffs and
bushwalking in dense vegetation.
This is not a hike
for everyone, but it can be done.


Due note 3: You do not
need climbing abilities or ropes and the hike is not expose (at least not the
route I took).
Due note 4: After doing
this hike alone I do recommend hiking here with other hikers, carry with you a
GPS communication device for case of emergency.
Due note 5: On top of the distance
and elevation gain aspects, you need to understand that this is unmarked trail,
you will need to navigate it.
The first trail
section up to Lost Lake is easy and clear but from there it is practically hiking
with no trail at all. The “trail” cairns are “everywhere”, and you need to come
prepared with the trail information and a good GPS software that will help you
to find the right path uphill.
Due note 6: As always in
wilderness bring enough water with you for a full day hike. During spring an
early summer, you can find water in the creek, but this can get dry at the hot
summer.
Due note 7: Do not do “foolish
things” on the edge of the cliff, from here this is 3000 ft free fall to the
valley below.


Due note 8: I considered
myself as a very experience navigator with more than 35 years of top-level
navigation experience I almost never use GPS for actual navigation, mainly more
for confirmation that I’m correct. At this hike I needed the help of a GPS
software to tune my progress, stay on track, and find the correct rout.
Due note 9: There are few other
possible alternate routes that can lead to Diving Board. One of them is named the
“climber’s rout”. This trail is crossing the cliff edge of Half Dome, following
a cracks and small ledges in the face of the rock. This trail is much higher
than the one I chose to take. I found it to be too much expose for me,
especially when I’m hiking alone. Falling here can cause major trauma if not
fatality. On the other hand, the trail I took is not simple and may have some
tough sections but if you are careful, it is much safer that the climber’s
rout.


Due note 10: This is a long
full-day hike. Start as early as you can and make sure you can hike back at
dark. Take with you GPS communication device, headlamp and warm cloth, enough
water (you may find water sources on your way at spring months, but you need
water filter), and enough food.
Always think
that you may need to spend the night in the field.
I carried with
me 2 cameras and a large telephoto lens; I did not regret it. I’m using this
lens for many of my landscape photos and when I saw the bear the 600 mm zoom
gave me excellent close-ups pictures.


Due note 11: You can sleep
in this area but for that you do need an overnight wilderness permit.
Due note 12: I find that
AllTrail hike map is taking you over the higher climber path that is exposed
rock section and I do not recommend taking this path
https://www.alltrails.com/explore/trail/us/california/diving-board?mobileMap=false&ref=sidebar-static-map
Due note 13: Does not
looks like that the official Yosemite National Park website provides any
information about this hike.

Due note 14: Somehow
unusual note.
For the one
that may say that blogs like this are bad, revealing information about “secrete
places” and ruin them because more people will visit here. People that think
that such locations should remain unknown to other people…
This is not
what I think.
If this hike is
not for everyone and may be danger? so the answer is yes
You can fall
off Half Dome and the NP do not think close it to people (people can even climb
it when cables are down).
If more people
will visit this place after reading this blog than the answer is yes, but that
a good thing.
You may hike here,
and you can’t say “I was the only one there” but this what nature is about, and
I believe we need to share it as long we do not destroy it.
I do not think
that more people hiking here will destroy or harm this place.


My thoughts: From the first
time I saw the picture of the hanging cliff edge over Yosemite Valley I want to
visit here. This was on my to-do list for some time, and I finally made it. I’m
not in top-shape lately and this was hard for me to climb up the steep mountain.
The last section of the hike, at hot day was a constant buttle, I had to take
many rest-stops. The view from the cliff edge down to the valley below is
breathtaking and on the other side looking up Half Dome cliff face from such
close-up is unique perspective.
It always amazes
me how I can be so close to hustle and bustle of Yosemite Valley and the
busiest park hike (the Mist Trail and Vernal Falls) and here just few miles away,
at the Diving Board, I’m all alone.
On top of the breath-taking
viewpoint the encounter with the bear on the way back was not less than amazing,
a dream come true


The Hike:


Overall length: I will start
this detailed hike description from the junction of John Muir Trail with the
top of Mist trail (where you can find new restroom cabin).
From the Trailhead to the Diving Board this is 2.5 miles hike (+additional 2.5 mile to hike
back to this point), with 1700 ft elevation gain.
Overall, from the
valley parking lot starting point near Curry Village this hike was almost 15
miles with almost 4500 ft of elevation gain.
I hiked slowly,
enjoying the view, and doing many rest-stops along the way + additional 20
minutes spending with the bear, it took me almost 12 hours to hike this trail.
I will
recommend the following: allow about 6 hours up, 4 hours down.
This is not
about the distance; at the last hike section you will progress 0.7 mile, but
you will need to climb ~1300 ft in a steep, bolder climbing and bushwalking
sloop.
For a full
description of Mist trail see the following blog:
Yosemite NP –Hiking Mist trail to Vernal Falls and Nevada Fall
From the
junction of John Muir Trail with the top of Mist trail keep hiking east into
the direction of Little Yosemite Valley.
At this first
section the trail climbs moderately for 0.3 mile and then descend for another
0.2 mile.


Note: In this JMT
section there is an unmarked trail on your left, I did not saw it, but in any
case, do not take it.

After 0.5 mile
from the starting point, you will reach a clear V trail junction. Left is John
Muir Trail and right will lead you to Little Yosemite Valley, here, you will
see the Merced River just near the trail.


Keep hiking left
on John Muir Trail and walk slowly so you can find the unmarked trail you need
to take on your left. At 0.7 miles from the starting point, you will see a faint
indistinct trail taking left into the bushes and up the small ridge.
 |
| Here you need to take left on the "trail" leading into the bushes |
Take left and
try to find the trail, once you pass the first few hundred feet and the trail
pass the small ridge it become a clear trail that marked with cairns.
At this section
the trail is clear and easy to follow.

Note: If you
did not find the trail, try to walk left (up) or right (down), and find it, the
forest here is relatively open with a lot of fallen dead trees and without
bushes.
The trail does
not climb left or going into the lower elevation on your right, it is trying to
keep the same level.


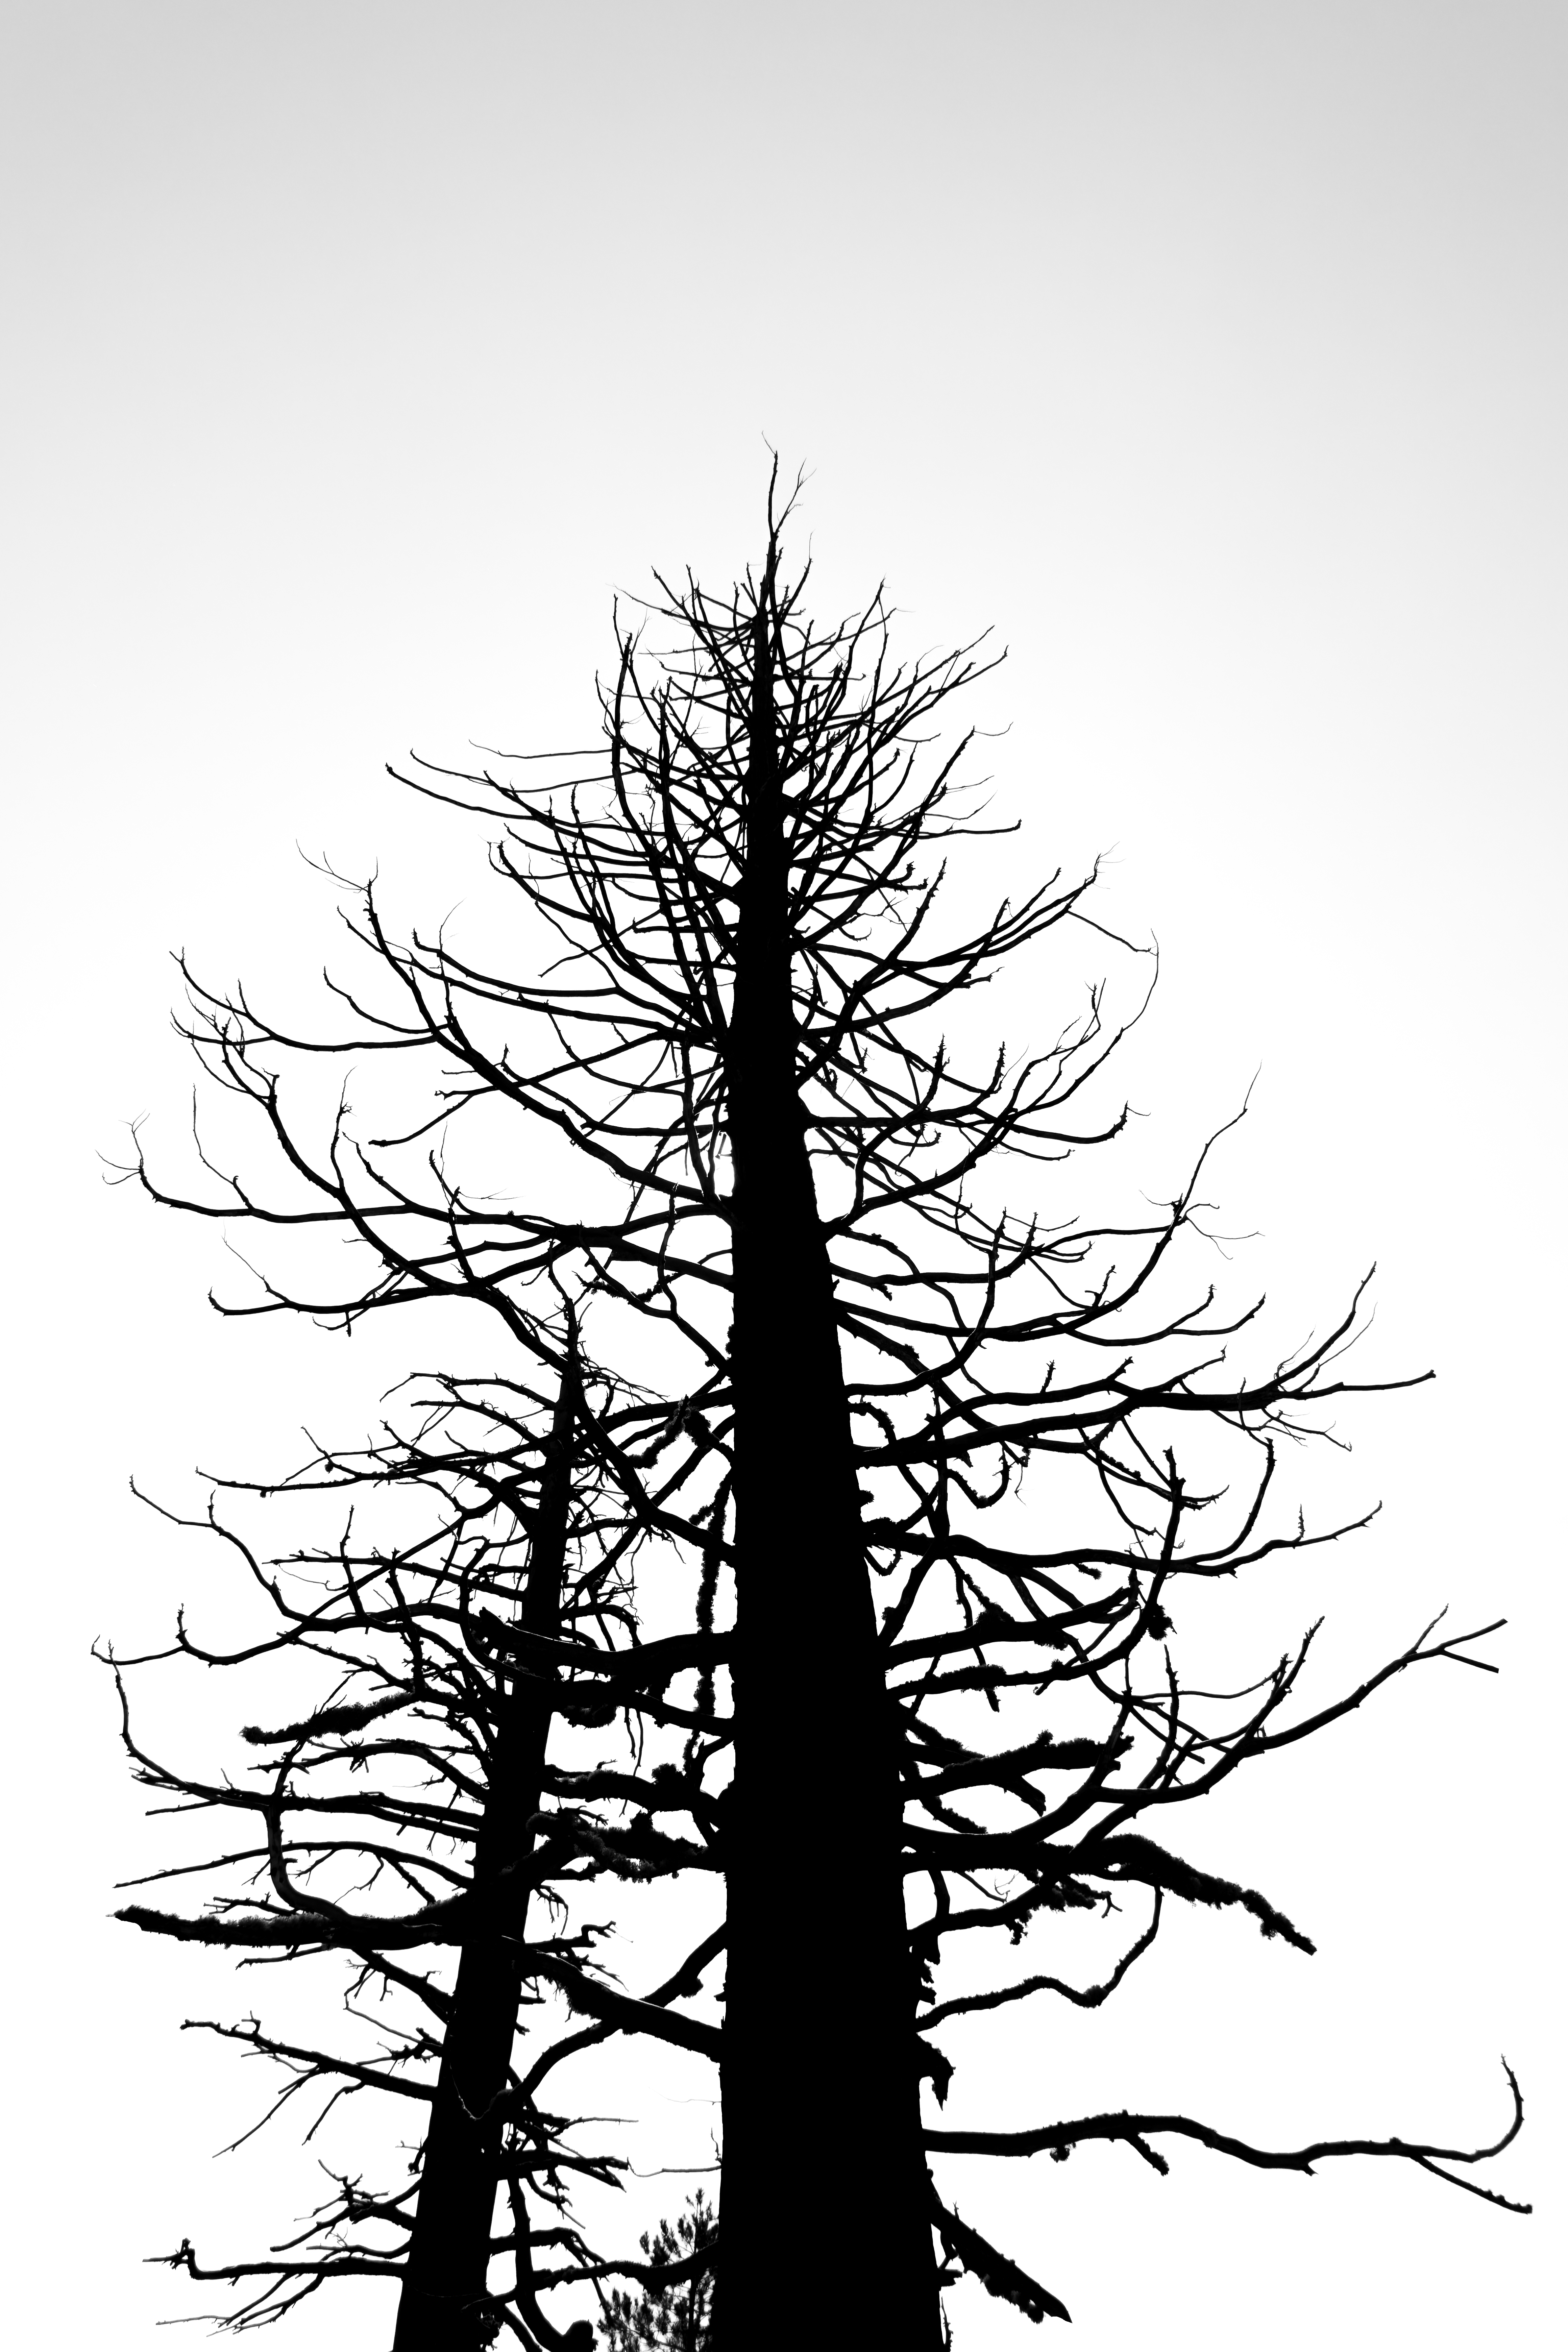
At this area I
saw the bear when walking back from the viewpoint at the afternoon.
Hopefully by
now you manage to find and follow the trail, after some time the trail starts
to descend into a small creek. You can cross the stream on the large log.
Keep hiking at
the short uphill, the tail level in an open section and soon you will cross
another small stream, this stream drains the Lost Lake.
Both streams
can be dry during summer and fall.


After short
walk you will reach to the east section of the Lost Lake, actually, this is more
like a large winter pound than a lake.
Enjoy the view
of Half Dome back, towering over the lake.
Here the trail follows
the lake direction in the gap between the lake on your right and the rocks on
your left. You can’t miss it.
Once you reach
the far side of the lake, this is 0.85 mile away from the start of you
off-trail section (the place you exit John Muir Trail).


Note: Up until
now it was relatively easy to follow and to find the trail. From this point there
is no trail, and you need to pay attention and find the right directions.
After the lake
the “trail” keeps heading west for few hundred feet until you will reach a turn
to the right. At this point the main visible trail turn right into the base of
Half Dome, this is a climber hike, you need to keep walking straight.
 |
| Here you need to keep going straight to the saddle and not turn right |


Note: Make sure
you are not turning right into the direction of Half Dome.
From this
“junction” you will not have any clear trail and you will need to follow your
GPS and the “trail” cairns. A short climb in the forest will lead you to the
top of the saddle.
From here
starts the tricky section to navigate of this hike. You are walking here on
rocks with almost no sand so no footprints to follow.
Additional
problem that I notice is that, practically, you can find cairns “everywhere”,
almost no matter where you will walk you will see some.

From here the steep
mountain side train is covered with large rocks surfaces, large boulders and a
lot of small trees and dense bushes.
High-level description
of this section: You need to go down into the deep canyon where you are trying
to stay on the right side, need to go down but not to go too deep to the left. Keep
heading at the same direction and soon you will start climbing up on the steep
slope.


As you can see
my GPS tracks, I did lose the “trail” several times and even on my way back I
manage to lose it. You always need to see you are going in the right direction.
At first after
the saddle, you will go to the right side, to an edge of a flat rock plate, after
crossing this section you will go down over many large boulders.
After
additional boulder crossing going down you will start to climb up, you should
reach a steep narrow slot clearly climbing upward on rocks.
Note: This is a
good indication you are on the right track.

Keep hiking west,
this section climbs constantly on the right side of the cliff.
At some point
the trail turns to the right, here you will be in a much denser forest, loose
slopes with heavy underbrush. When I hiked here, in early May, in a middle of a
creek there was water dripping on the rocks in some places.

The trail keeps
climbing in extreme steepness constantly up the slope covered with heavy bushes.
At this point try
to stay in the “middle” of the creek, it is not so much about finding the trail
or navigate but rather fight the uphill slope inside the bushes.
Keep climbing
up another 500 ft, it is not about the distance but about the climb, soon after
you will reach an open section where you can start to see upward.

The next
section is much more expose to the sun, trees were hit by a fire few years
back, and you will have to cross a lot of low bushy vegetation. Here I lost the
“trail” and I had to bushwalking my way in the vegetation and over and across many
dead trees.

I found that if
I’m taking my route up to the left side there are a lot less bushes.
Eventually I
manage to find the way up the mountain slope, cross the last section of forest (no
bushes in this last section) and climb all the way to the Diving Board.
This was a hard
climb and I had to take many stops to rest.
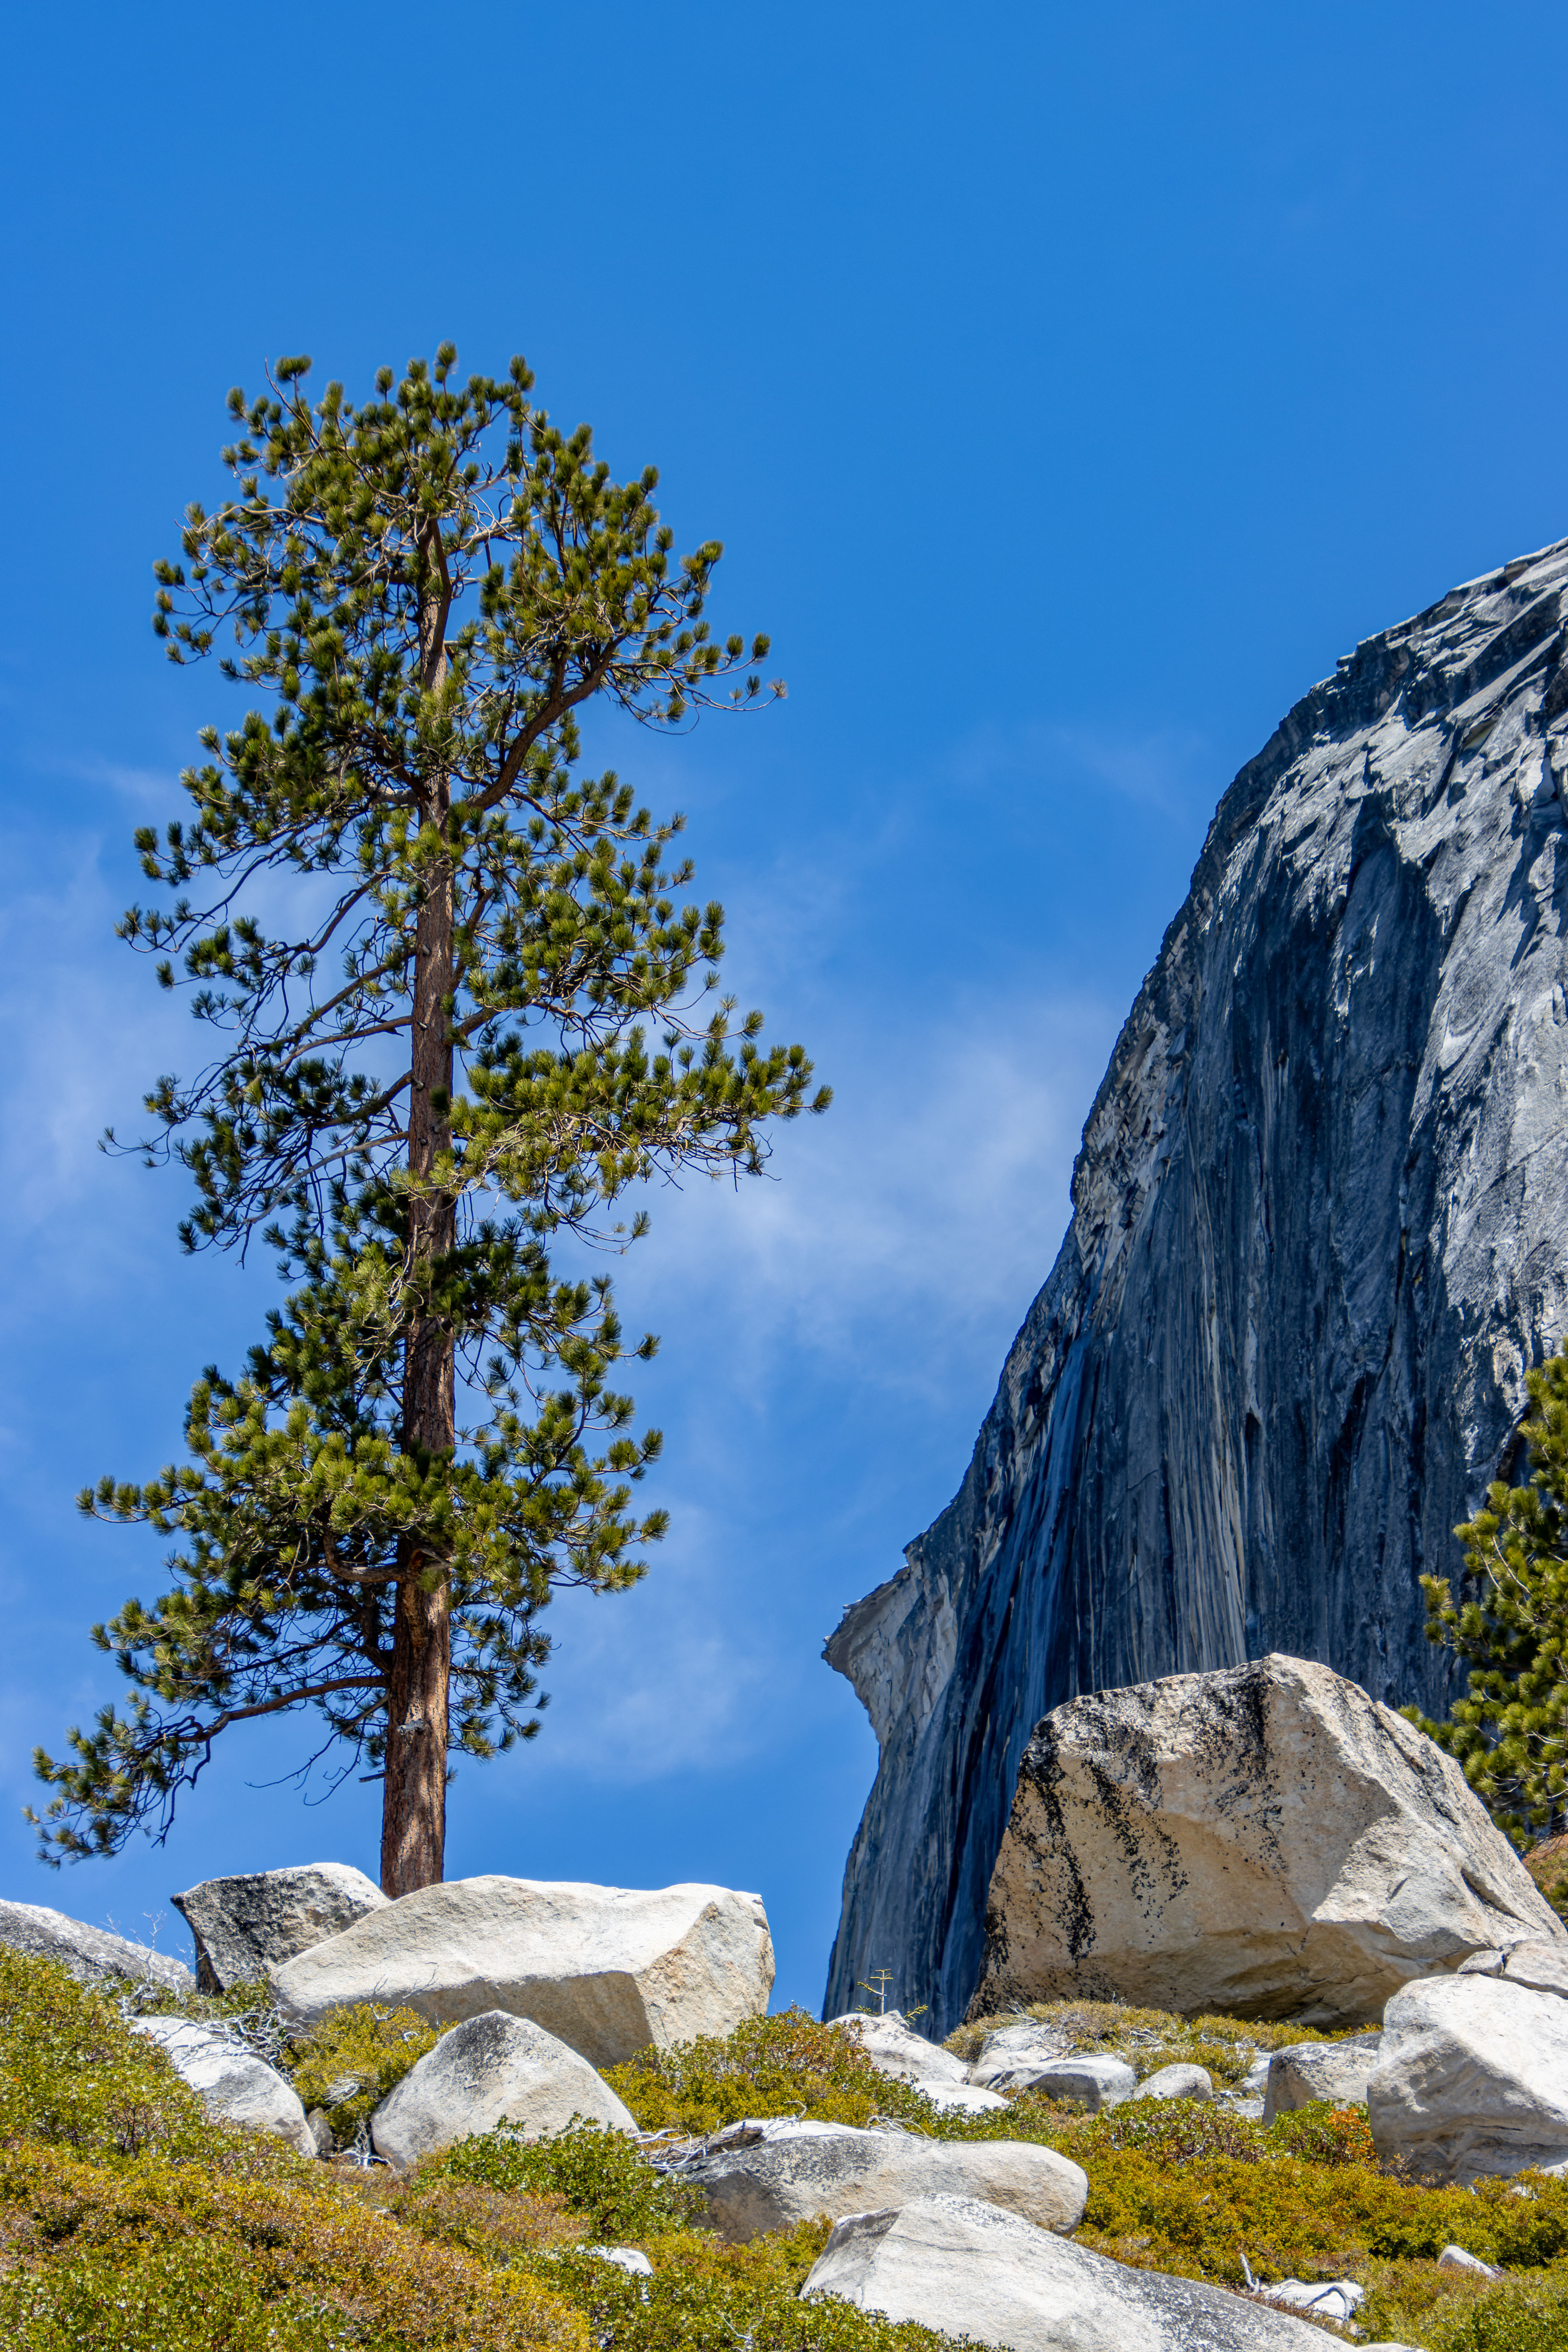
The Diving Board:
Finally, I got
all the way up to the Diving Board point.
It took me 5:30
hours to hike up to here, I carry with me relatively heavy bag for one day hike,
and I did many stops to rest and also to take pictures along the way.
I took my backpack
off, drink some water, look, and admire Half Dome towering above me.
After short
rest I walk to the edge.
Here, I lay
down on the flat rock angled surface and pop my head peeking over the cliff
edge…
I found myself looking
3000 ft directly down to mirror lake, AMAZING VIEW !


The Rock at
this location, on the west side of Half Dome is projects out in front of the
face of Half Dome.
At this location
Ansel Adams decided it is the perfect vista from which to capture Half Dome’s
sheer face, the photograph he made here called “Monolith, the Face of Half
Dome”.
Although the Half
Dome view is indeed impressive, I find it that the view looking at opposite
direction is more unique. This is the picture that once I saw it I told myself
that I want to be here.
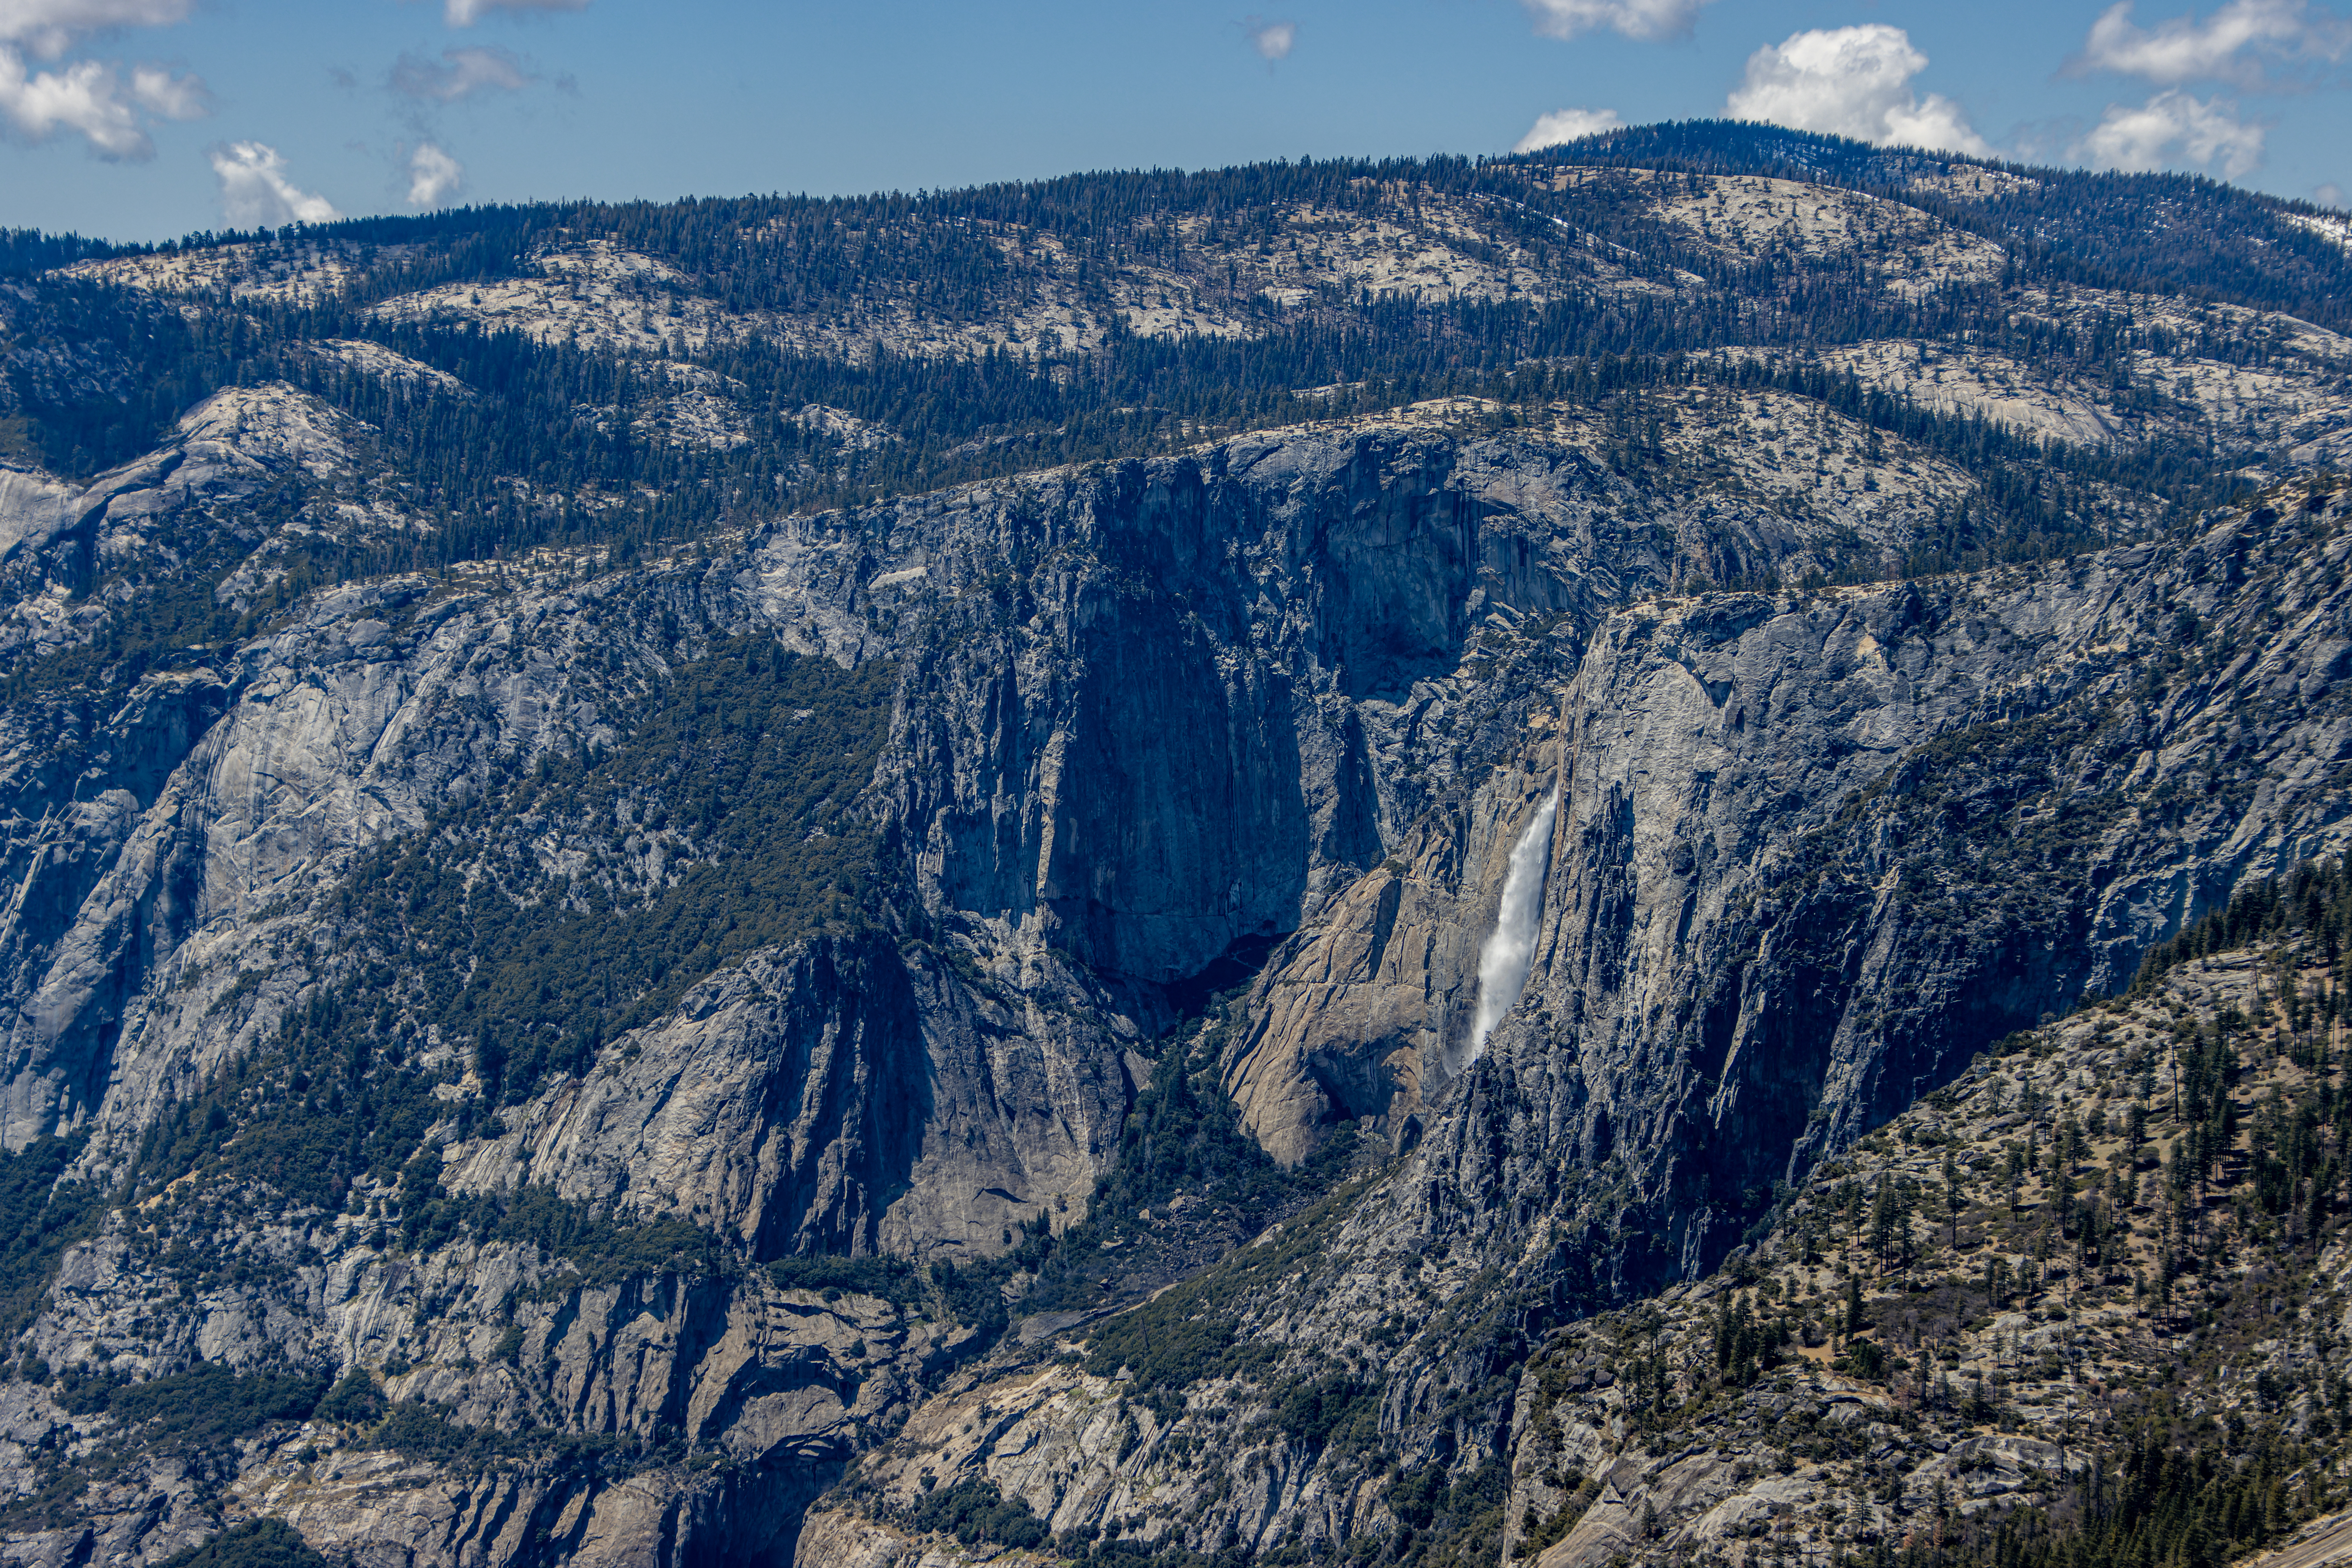
You can see the
razor-sharp cliff edge leading your eye into the Yosemite grand vista landscape
as more unique.


From this
unique and unusual viewpoint, you can see many Yosemite Valley sections and the
surrounding mountains.
Far to the west
you can see the valley entrance and El Capitan towering above, you can see Yosemite
waterfall higher section from the side, mirror lake and Tanya valley just below
you, and North Dome on the other side. You can clearly see the switchback of
Snow Creek Trail climbing up the north mountains and snow Creek waterfalls
cascades to the right of the trail. Far to the right, at the end of Tanya Valley
you can see the water rushing off the high cliffs. At the northeast, you can
see the snowy cap of Mt Hoffmann.


On the other
side of the view point you can see Glacier Point viewing deck, to the left you
can see Illilouette Creek and the canyon featuring the impressive waterfalls.
Above them you can see the mountains covered with snow in the south section of
Yosemite Park.

From this point
you can’t see the Merced Canyon or the Liberty Cap, they are hidden by the Half
Dome.

At the day I
hiked here there where a group of 6 rock climbers that climb Half Dome from
this side of the mountain.
It was
impressive to see how they manage to find hold and crack in the steep shear
rock surface, finding their way up the mountain.


I stayed at the
viewing point for almost an hour, just relaxing and enjoying the view.
When I started
to get organize for my hike back down, I saw 2 hikes arriving here, they were
the only other hikes I saw in this trail section that day.
My way back down:
I start my hike
back down, although much easier and faster than the seep way up, but still I
had to find a good trail in between the dense bushes and be careful not to fall.

When going downward
it is easier to see the “trail cairns”, or at list some trace of previous
hikers.
After passing
the bush section I got into the steep rocky section inside a forest with heavy
underbrush. Here I had to be careful not to lose my foot grip, I was tired from
the long day hike, and I tried not to do mistakes.
I hiked all the
way down to the creek with all the large boulders and climb back up to the saddle
section, and back to Lost Lake.
I pass Lost
Lake, the 2 small creeks and headed back in the direction of JMT, I had less
than a mile to reach the trail.


The Bear saw me
first.
He moved from
the tree he was standing on, I heard something and saw his movement on the side
of the trail.
He was around 40 ft away, we both stood without any movement looking at each other.
My heart rate jumped,
and I became fully alert, thinking what to do…
After short
mutual examination he decided that I’m not a threat to him. The bear lower his
head and keep on looking for food in the tree bark.
After few more
seconds I moved slowly backward to a safe distance and only then I allow myself
to use my camera.

The bear continues
looking for food in the forest, peeling tree barks and eating grass. By now I
relaxed and even manage to take out of my backpack my 150-600 lens and take
good pictures of the bear.
I watch the
bear for around 20 minutes until he went deeper into the forest.
I decided not
to follow the bear and give him his space.

It was a “dream
come true”, spending time with a bear in the wilderness.

Note: I was taking
the pictures from far, safe, and non-disturbing distance (>100ft). I manage
to get such close-up pictures because I carry with me my 600mm zoom + my camera
is Canon 90D with crop sensor, this kit provides very good zoom capabilities.
My blog with more
bear pictures

After this hike
highlight, I keep walking and after a short time I arrived back to John Muir
Trail.
I turned right
heading to Nevada falls.
Overall, this
hike from and back to Nevada Falls is 5 mile long but with all the steep
climbing it looks like a lot longer.
For full MistTrail and Nevada Falls description follow the link to my blog.
Summery:
It was an amazing
day hike, starting down in the valley, hiking Mist Trail, Vernal and Nevada
waterfalls, climbing and reaching Diving Board viewpoint and spending quality
time with a bear made it just a perfect day in Yosemite.

www:
As I was
looking for more information about this hike, I was surprised to see how few links
I discovered and most of them are dated many years back (not that the trail or
the rock changed so much in those years 😊).
This is probably
the best website I manage to find on this hike:
https://www.terragalleria.com/blog/yosemite-unseen-iii-the-diving-board/
Another website
describing a different route:
https://pantilat.wordpress.com/2014/12/09/half-domes-diving-board/
Another website
https://www.travelcaffeine.com/diving-board-hike-half-dome-yosemite-national-park/
Another Message-List
link with additional information:
https://yosemitenews.info/forum/read.php?17,72681,73093
Probably the
best YouTube link describing the hike:
https://www.youtube.com/watch?v=AGdAgJX5OCA
Pictures:


Comments
Post a Comment